---
nav: zh
search: zh
---
# 一个基于Lua的轻量级跨平台自动构建工具
[](https://travis-ci.org/tboox/xmake) [](https://ci.appveyor.com/project/waruqi/xmake/branch/master) [](https://gitter.im/tboox/tboox?utm_source=badge&utm_medium=badge&utm_campaign=pr-badge&utm_content=badge) [](http://xmake.io/cn/pages/donation.html#donate)
## 简介
XMake是一个基于Lua的轻量级跨平台自动构建工具,支持在各种主流平台上构建项目
xmake的目标是开发者更加关注于项目本身开发,简化项目的描述和构建,并且提供平台无关性,使得一次编写,随处构建
它跟cmake、automake、premake有点类似,但是机制不同,它默认不会去生成IDE相关的工程文件,采用直接编译,并且更加的方便易用
采用lua的工程描述语法更简洁直观,支持在大部分常用平台上进行构建,以及交叉编译
并且xmake提供了创建、配置、编译、打包、安装、卸载、运行等一些actions,使得开发和构建更加的方便和流程化。
不仅如此,它还提供了许多更加高级的特性,例如插件扩展、脚本宏记录、批量打包、自动文档生成等等。。
## 安装
##### Windows
1. 从 ([Releases](https://github.com/tboox/xmake/releases)) 上下载windows安装包
2. 运行安装程序 xmake-[version].exe
##### MacOS
```bash
$ ruby -e "$(curl -fsSL https://raw.githubusercontent.com/Homebrew/install/master/install)"
$ sudo brew install xmake
```
##### Linux
```bash
$ ruby -e "$(curl -fsSL https://raw.githubusercontent.com/Homebrew/linuxbrew/go/install)"
$ sudo brew install xmake
```
##### 编译安装
```bash
$ git clone git@github.com:waruqi/xmake.git
$ cd ./xmake
$ sudo ./install
```
## 快速开始
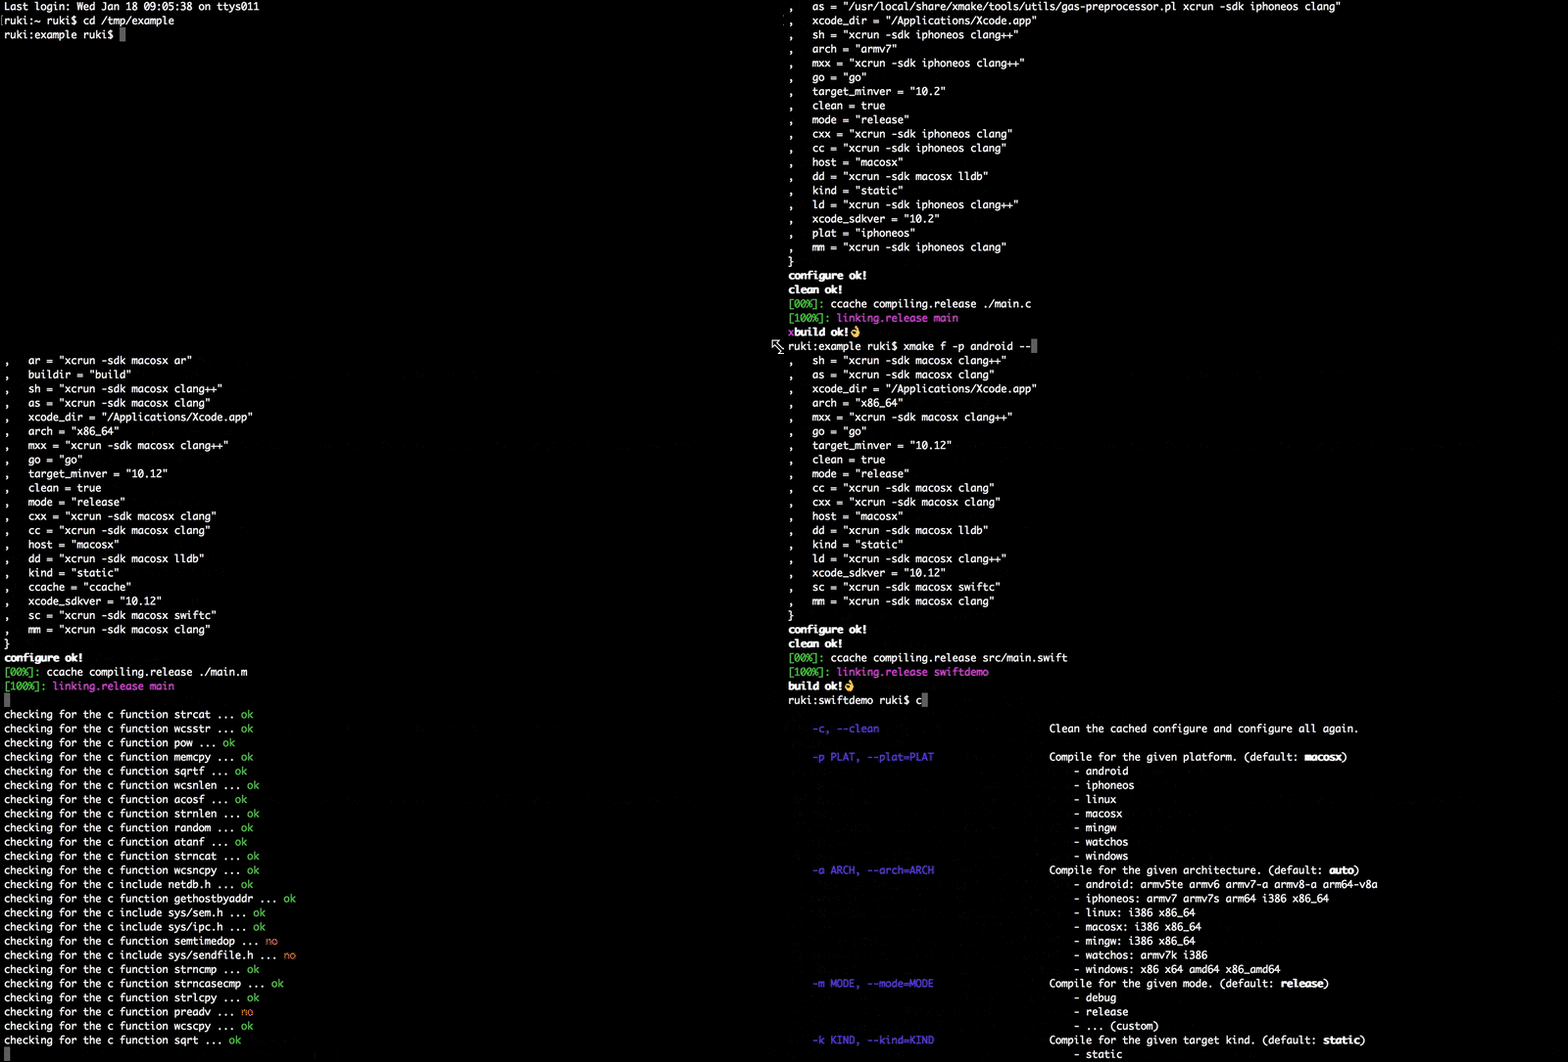
#### 创建工程
创建一个名叫`hello`的`c`控制台工程:
```bash
$ xmake create -l c -P ./hello
```
执行完后,将会生成一个简单工程结构:
```
hello
├── src
│ └── main.c
└── xmake.lua
```
其中`xmake.lua`是工程描述文件,内容非常简单,告诉xmake添加`src`目录下的所有`.c`源文件:
```lua
target("hello")
set_kind("binary")
add_files("src/*.c")
```
目前支持的语言如下:
* c/c++
* objc/c++
* asm
* swift
* dlang
* golang
* rust
如果你想了解更多参数选项,请运行: `xmake create --help`
#### 构建工程
```bash
$ xmake
```
#### 运行程序
```bash
$ xmake run hello
```
#### 调试程序
```bash
$ xmake run -d hello
```
xmake将会使用系统自带的调试器去加载程序运行,目前支持:lldb, gdb, windbg, vsjitdebugger, ollydbg 等各种调试器。
```bash
[lldb]$target create "build/hello"
Current executable set to 'build/hello' (x86_64).
[lldb]$b main
Breakpoint 1: where = hello`main, address = 0x0000000100000f50
[lldb]$r
Process 7509 launched: '/private/tmp/hello/build/hello' (x86_64)
Process 7509 stopped
* thread #1: tid = 0x435a2, 0x0000000100000f50 hello`main, queue = 'com.apple.main-thread', stop reason = breakpoint 1.1
frame #0: 0x0000000100000f50 hello`main
hello`main:
-> 0x100000f50 <+0>: pushq %rbp
0x100000f51 <+1>: movq %rsp, %rbp
0x100000f54 <+4>: leaq 0x2b(%rip), %rdi ; "hello world!"
0x100000f5b <+11>: callq 0x100000f64 ; symbol stub for: puts
[lldb]$
```
你也可以使用简写的命令行选项,例如: `xmake r` 或者 `xmake run`
## 配置
#### 目标平台
##### 主机平台
```bash
$ xmake
```
xmake将会自动探测当前主机平台,默认自动生成对应的目标程序。
##### Linux
```bash
$ xmake f -p linux [-a i386|x86_64]
$ xmake
```
##### Android
```bash
$ xmake f -p android --ndk=~/files/android-ndk-r10e/ [-a armv5te|armv6|armv7-a|armv8-a|arm64-v8a]
$ xmake
```
##### iPhoneOS
```bash
$ xmake f -p iphoneos [-a armv7|armv7s|arm64|i386|x86_64]
$ xmake
```
##### Windows
```bash
$ xmake f -p windows [-a x86|x64]
$ xmake
```
##### Mingw
```bash
$ xmake f -p mingw --sdk=/usr/local/i386-mingw32-4.3.0/ [-a i386|x86_64]
$ xmake
```
##### Apple WatchOS
```bash
$ xmake f -p watchos [-a i386|armv7k]
$ xmake
```
##### 交叉编译
```bash
$ xmake f -p linux --sdk=/usr/local/arm-linux-gcc/ [--toolchains=/sdk/bin] [--cross=arm-linux-]
$ xmake
```
你可以使用命令行缩写来简化输入,也可以使用全名,例如:
`xmake f` 或者 `xmake config`.
`xmake f -p linux` 或者 `xmake config --plat=linux`.
`xmake f -p linux -a i386` 或者 `xmake config --plat=linux --arch=i386`.
如果你想要了解更多参数选项,请运行: `xmake f --help`
#### 全局配置
我们也可以将一些常用配置保存到全局配置中,来简化频繁地输入:
例如:
```bash
$ xmake g --ndk=~/files/android-ndk-r10e/
```
现在,我们重新配置和编译`android`程序:
```bash
$ xmake f -p android
$ xmake
```
以后,就不需要每次重复配置`--ndk=`参数了。
每个命令都有其简写,例如: `xmake g` 或者 `xmake global`.
#### 清除配置
有时候,配置出了问题编译不过,或者需要重新检测各种依赖库和接口,可以加上`-c`参数,清除缓存的配置,强制重新检测和配置
```bash
$ xmake f -c
$ xmake
```
或者:
```bash
$ xmake f -p iphoneos -c
$ xmake
```
## 问答
#### 怎样获取更多参数选项信息?
获取主菜单的帮助信息,里面有所有action和plugin的列表描述。
```bash
$ xmake [-h|--help]
```
获取配置菜单的帮助信息,里面有所有配置选项的描述信息,以及支持平台、架构列表。
```bash
$ xmake f [-h|--help]
```
获取action和plugin命令菜单的帮助信息,里面有所有内置命令和插件任务的参数使用信息。
```bash
$ xmake [action|plugin] [-h|--help]
```
例如,获取`run`命令的参数信息:
```bash
$ xmake run --help
```
#### 怎样实现静默构建,不输出任何信息?
```bash
$ xmake [-q|--quiet]
```
#### 如果xmake运行失败了怎么办?
可以先尝试清除下配置,重新构建下:
```bash
$ xmake f -c
$ xmake
```
如果还是失败了,请加上 `-v` 或者 `--verbose` 选项重新执行xmake后,获取更加详细的输出信息
例如:
```hash
$ xmake -v
$ xmake --verbose
```
并且可以加上 `--backtrace` 选项获取出错时的xmake的调试栈信息, 然后你可以提交这些信息到[issues](https://github.com/tboox/xmake/issues).
```bash
$ xmake -v --backtrace
```