blob: 03f70e89a1d73006122a4369adc3b20cc104b13b (
plain)
1
2
3
4
5
6
7
8
9
10
11
12
13
14
15
16
17
18
19
20
21
22
23
24
25
26
27
28
29
30
31
32
33
34
35
36
37
38
39
40
41
42
43
44
45
46
47
48
49
50
51
52
53
54
55
56
57
58
59
60
61
62
63
64
65
66
67
68
69
70
71
72
73
74
75
76
77
78
79
80
81
82
83
84
85
86
87
88
89
90
91
92
93
94
95
96
97
98
99
100
101
102
103
104
105
106
107
108
109
110
111
112
113
114
115
116
117
118
119
120
121
122
123
124
125
126
127
128
129
130
131
132
133
134
135
136
137
138
139
140
141
142
143
144
145
146
147
148
149
150
151
152
153
154
155
156
157
158
159
160
161
162
163
164
165
166
167
168
169
170
171
172
173
174
175
176
177
178
179
180
181
182
183
184
185
186
187
188
189
190
191
192
193
194
195
196
197
198
199
200
201
202
203
204
205
206
207
208
209
210
211
212
213
214
215
216
217
218
219
220
221
222
223
224
225
226
227
228
229
230
231
232
233
234
235
236
237
238
239
240
241
242
243
244
245
246
247
248
249
250
251
252
253
254
255
256
257
258
259
260
261
262
263
264
265
266
267
268
269
270
271
272
273
274
275
276
277
278
279
280
281
282
283
284
285
286
287
288
289
290
291
292
293
294
295
296
297
298
299
300
301
302
303
304
|
---
nav: zh
search: zh
---
# 一个基于Lua的轻量级跨平台自动构建工具
[](https://travis-ci.org/tboox/xmake) [](https://ci.appveyor.com/project/waruqi/xmake/branch/master) [](https://gitter.im/tboox/tboox?utm_source=badge&utm_medium=badge&utm_campaign=pr-badge&utm_content=badge) [](http://xmake.io/cn/pages/donation.html#donate)
## 简介
XMake是一个基于Lua的轻量级跨平台自动构建工具,支持在各种主流平台上构建项目
xmake的目标是开发者更加关注于项目本身开发,简化项目的描述和构建,并且提供平台无关性,使得一次编写,随处构建
它跟cmake、automake、premake有点类似,但是机制不同,它默认不会去生成IDE相关的工程文件,采用直接编译,并且更加的方便易用
采用lua的工程描述语法更简洁直观,支持在大部分常用平台上进行构建,以及交叉编译
并且xmake提供了创建、配置、编译、打包、安装、卸载、运行等一些actions,使得开发和构建更加的方便和流程化。
不仅如此,它还提供了许多更加高级的特性,例如插件扩展、脚本宏记录、批量打包、自动文档生成等等。。
## 安装
##### Windows
1. 从 ([Releases](https://github.com/tboox/xmake/releases)) 上下载windows安装包
2. 运行安装程序 xmake-[version].exe
##### MacOS
```bash
$ ruby -e "$(curl -fsSL https://raw.githubusercontent.com/Homebrew/install/master/install)"
$ sudo brew install xmake
```
##### Linux
```bash
$ ruby -e "$(curl -fsSL https://raw.githubusercontent.com/Homebrew/linuxbrew/go/install)"
$ sudo brew install xmake
```
##### 编译安装
```bash
$ git clone [email protected]:waruqi/xmake.git
$ cd ./xmake
$ sudo ./install
```
## 快速开始
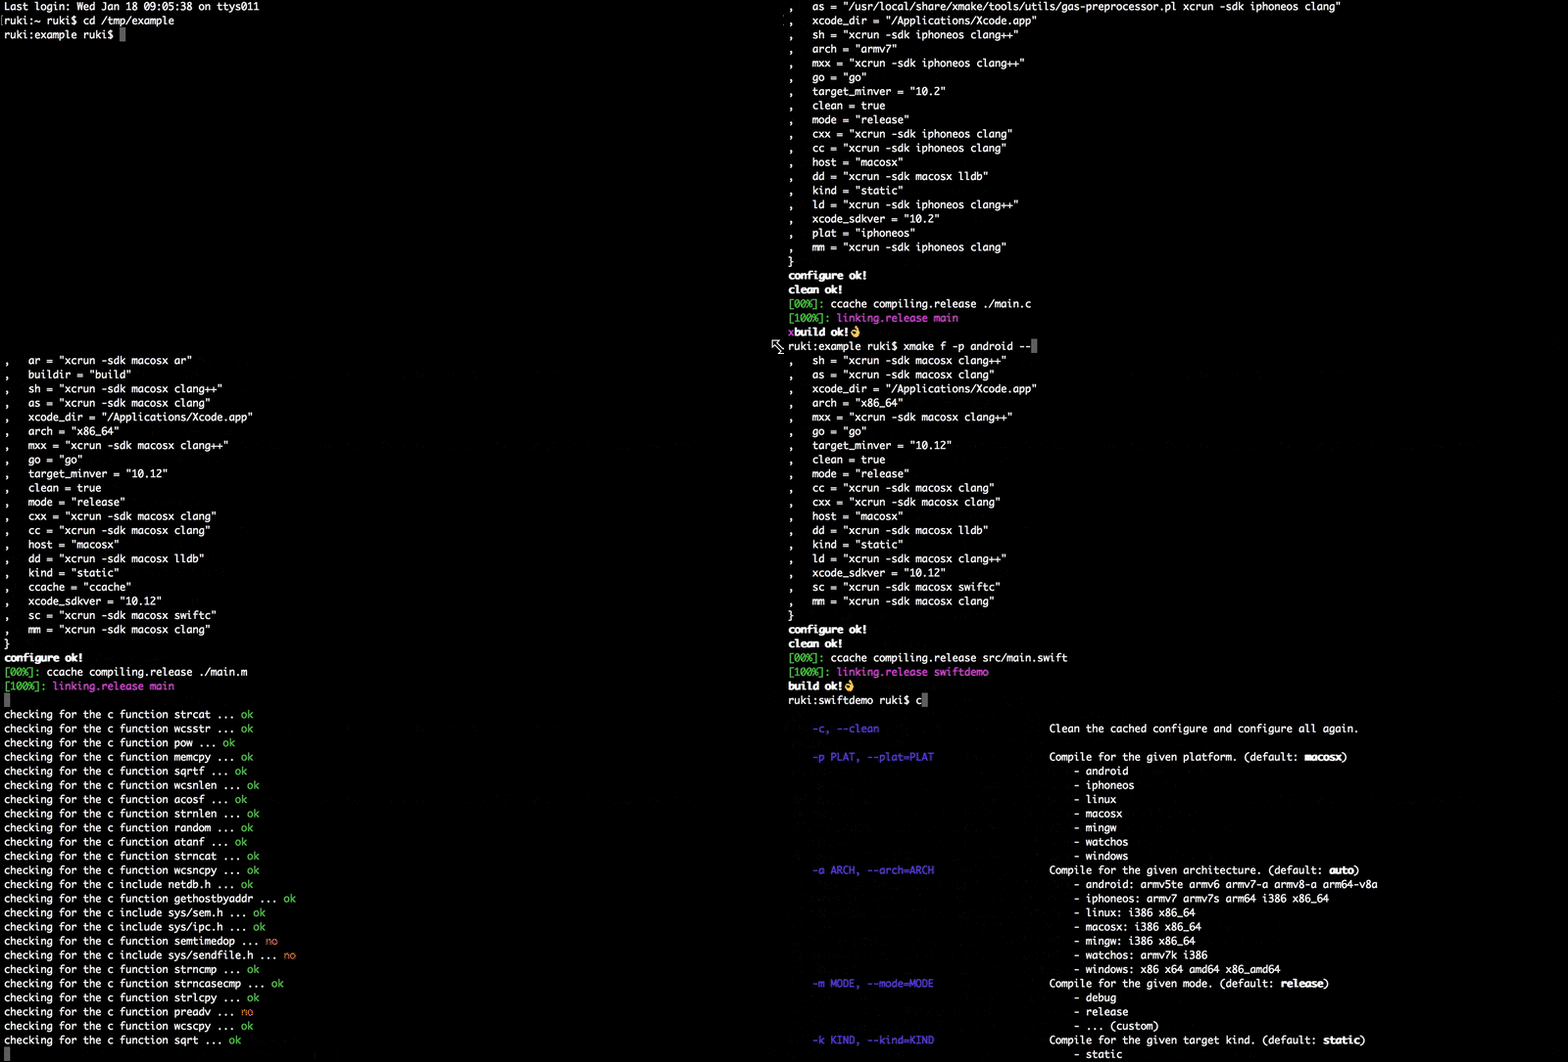
#### 创建工程
创建一个名叫`hello`的`c`控制台工程:
```bash
$ xmake create -l c -P ./hello
```
执行完后,将会生成一个简单工程结构:
```
hello
├── src
│ └── main.c
└── xmake.lua
```
其中`xmake.lua`是工程描述文件,内容非常简单,告诉xmake添加`src`目录下的所有`.c`源文件:
```lua
target("hello")
set_kind("binary")
add_files("src/*.c")
```
目前支持的语言如下:
* c/c++
* objc/c++
* asm
* swift
* dlang
* golang
* rust
<p class="tip">
如果你想了解更多参数选项,请运行: `xmake create --help`
</p>
#### 构建工程
```bash
$ xmake
```
#### 运行程序
```bash
$ xmake run hello
```
#### 调试程序
```bash
$ xmake run -d hello
```
xmake将会使用系统自带的调试器去加载程序运行,目前支持:lldb, gdb, windbg, vsjitdebugger, ollydbg 等各种调试器。
```bash
[lldb]$target create "build/hello"
Current executable set to 'build/hello' (x86_64).
[lldb]$b main
Breakpoint 1: where = hello`main, address = 0x0000000100000f50
[lldb]$r
Process 7509 launched: '/private/tmp/hello/build/hello' (x86_64)
Process 7509 stopped
* thread #1: tid = 0x435a2, 0x0000000100000f50 hello`main, queue = 'com.apple.main-thread', stop reason = breakpoint 1.1
frame #0: 0x0000000100000f50 hello`main
hello`main:
-> 0x100000f50 <+0>: pushq %rbp
0x100000f51 <+1>: movq %rsp, %rbp
0x100000f54 <+4>: leaq 0x2b(%rip), %rdi ; "hello world!"
0x100000f5b <+11>: callq 0x100000f64 ; symbol stub for: puts
[lldb]$
```
<p class="tip">
你也可以使用简写的命令行选项,例如: `xmake r` 或者 `xmake run`
</p>
## 配置
#### 目标平台
##### 主机平台
```bash
$ xmake
```
<p class="tip">
xmake将会自动探测当前主机平台,默认自动生成对应的目标程序。
</p>
##### Linux
```bash
$ xmake f -p linux [-a i386|x86_64]
$ xmake
```
##### Android
```bash
$ xmake f -p android --ndk=~/files/android-ndk-r10e/ [-a armv5te|armv6|armv7-a|armv8-a|arm64-v8a]
$ xmake
```
##### iPhoneOS
```bash
$ xmake f -p iphoneos [-a armv7|armv7s|arm64|i386|x86_64]
$ xmake
```
##### Windows
```bash
$ xmake f -p windows [-a x86|x64]
$ xmake
```
##### Mingw
```bash
$ xmake f -p mingw --sdk=/usr/local/i386-mingw32-4.3.0/ [-a i386|x86_64]
$ xmake
```
##### Apple WatchOS
```bash
$ xmake f -p watchos [-a i386|armv7k]
$ xmake
```
##### 交叉编译
```bash
$ xmake f -p linux --sdk=/usr/local/arm-linux-gcc/ [--toolchains=/sdk/bin] [--cross=arm-linux-]
$ xmake
```
<p class="tip">
你可以使用命令行缩写来简化输入,也可以使用全名,例如: <br>
`xmake f` 或者 `xmake config`.<br>
`xmake f -p linux` 或者 `xmake config --plat=linux`.<br>
`xmake f -p linux -a i386` 或者 `xmake config --plat=linux --arch=i386`.<br>
<br>
如果你想要了解更多参数选项,请运行: `xmake f --help`
</p>
#### 全局配置
我们也可以将一些常用配置保存到全局配置中,来简化频繁地输入:
例如:
```bash
$ xmake g --ndk=~/files/android-ndk-r10e/
```
现在,我们重新配置和编译`android`程序:
```bash
$ xmake f -p android
$ xmake
```
以后,就不需要每次重复配置`--ndk=`参数了。
<p class="tip">
每个命令都有其简写,例如: `xmake g` 或者 `xmake global`.<br>
</p>
#### 清除配置
有时候,配置出了问题编译不过,或者需要重新检测各种依赖库和接口,可以加上`-c`参数,清除缓存的配置,强制重新检测和配置
```bash
$ xmake f -c
$ xmake
```
或者:
```bash
$ xmake f -p iphoneos -c
$ xmake
```
## 问答
#### 怎样获取更多参数选项信息?
获取主菜单的帮助信息,里面有所有action和plugin的列表描述。
```bash
$ xmake [-h|--help]
```
获取配置菜单的帮助信息,里面有所有配置选项的描述信息,以及支持平台、架构列表。
```bash
$ xmake f [-h|--help]
```
获取action和plugin命令菜单的帮助信息,里面有所有内置命令和插件任务的参数使用信息。
```bash
$ xmake [action|plugin] [-h|--help]
```
例如,获取`run`命令的参数信息:
```bash
$ xmake run --help
```
#### 怎样实现静默构建,不输出任何信息?
```bash
$ xmake [-q|--quiet]
```
#### 如果xmake运行失败了怎么办?
可以先尝试清除下配置,重新构建下:
```bash
$ xmake f -c
$ xmake
```
如果还是失败了,请加上 `-v` 或者 `--verbose` 选项重新执行xmake后,获取更加详细的输出信息
例如:
```hash
$ xmake -v
$ xmake --verbose
```
并且可以加上 `--backtrace` 选项获取出错时的xmake的调试栈信息, 然后你可以提交这些信息到[issues](https://github.com/tboox/xmake/issues).
```bash
$ xmake -v --backtrace
```
|
